Inkscape: Difference between revisions
en>Gamebofh (add cr to fix formatting) |
en>Gamebofh |
||
| Line 138: | Line 138: | ||
= Get your file to the laser = | = Get your file to the laser = | ||
The lasers behave differently, so the specifics for processing the files will be on the individual laser pages. | The lasers behave differently, so the specifics for processing the files will be on the individual laser pages. Regardless though, you're going to be "Sneakernet"ing your file via a USB drive, so make sure you have one handy. | ||
* [[PewPew4500]] | * [[PewPew4500]] | ||
* [[PewPew9000]] | * [[PewPew9000]] | ||
= External links = | |||
* [https://www.ponoko.com/blog/how-to-make/inkscape-vector-tutorials/ Ponoko Inkscape Tutorial] | |||
[[Category:Laser]] | [[Category:Laser]] | ||
Revision as of 01:07, 26 June 2020
Inkscape is a free, opensource, vector graphics software. Having been less than version 1 for slightly less time than OpenSSL was, it is has now achieved "production" status with version 1. It can be downloaded for your system from Inkscape.org.
Uses
It is useful for a lot of different things, but the initial focus of this article is going to be for creating designs to laser cut.
Getting started
- Install software. I'll leave that to you. I'm running on a Mac, so screenshots will be from there, but you can translate.
Caveats
I'm largely self taught on Inkscape. So there might be things in this documentation that are a terrible way to do something. That's the joy of a wiki, update it with a better way if you know of one. Otherwise, this is what works for me.
Fix some defaults
Units of measure
Listen, I get it, we live in America. But "freedom units" have little place in precision and even less place in the software designed a decade ago by a Chinese software development company. So, you'll want to change your defaults to metric, or specifically, mm.
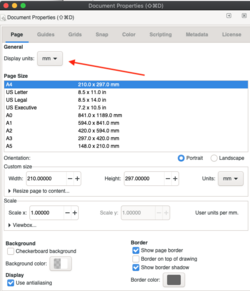
- Change the Document Properties to mm
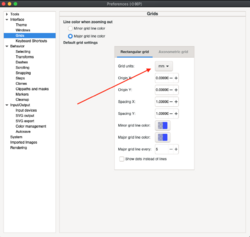
- Change the grid units to mm
Really getting started
Create a new file
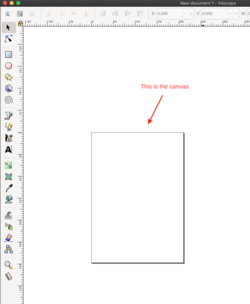
Standard stuff. File -> New. Now, you're going to see this big box on it. This is just your canvas, it is not something that is part of your drawing.
Basic controls
Now, if you're expecting
- Zoom out: - (i.e. hyphen, minus)
- Zoom in: + (i.e. plus sign)
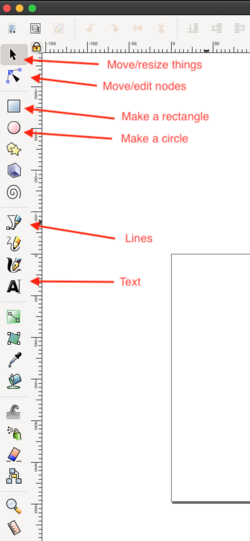
- Other basic controls:
Let's make a key chain tag
One of the most basic laser items, so good to start. Our key chain tag is going to have 3 simple elements:
- Be a small rectangle, 3 cm x 10 cm
- Have a hole for the key ring to go through
- Have a name on it
Draw rectangle
First, we're going to draw the outline of the tag. It's not important to get the size precisely right because we'll change that in the next section. You can actually size it by doing it initially, but want to show the process for how you can do it for any element.
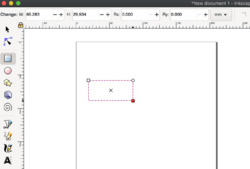
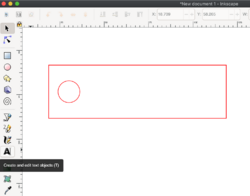
Select the rectangle tool.
Then just click and drag to create the rectangle.
Resize rectangle
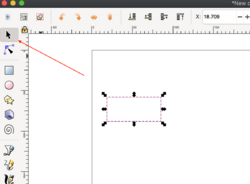
The rectangle isn't the size we wanted, so let's fix that. First, click or click and drag to select the rectangle.
You can see where the Height and Width dimensions.
Just click into those and change them to the desired dimensions. You'll recall we said 3 cm and 10 cm, which is 30mm and 100mm.
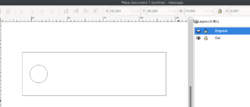
Draw hole
Now we need the key ring hole. So, we'll just make a circle. We want it close to the area we want, and we'll center it in the enxt step.
Align everything horizontal
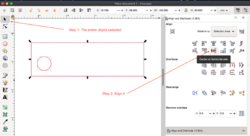
There are all sorts of way to try to get this exact, but the best way is to just let the software do it for you. You'll see there are all sorts of options for alignment and distribution, we're going to have them centered.
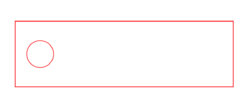
Here is what it looks like afterwards.
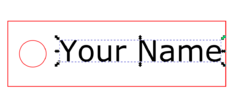
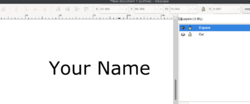
Add text
Select the text tool and type in your information.
Resize text
Easiest way to resize is to just grab a corner and expand it. If you want to make sure it expands proportionally (so it doesn't just stretch width or height) it will do that if you just hold the Control key while you do it.
Align horizontal again
Just do the same thing we did for the circle above.
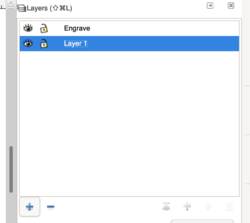
Create layers
Layers are an easy way to separate the actions you might want on your design. So, in our case we know we want to Cut and Engrave. This way we can ensure we are organized on the export.
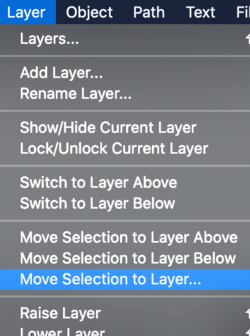
Move things to easy to remember layers
Now, when I took this screenshot I was on my laptop, so I did it through the menus. You can also do this by selecting the object and using your right mouse button to move it to a layer.
How to view layers
Make the layers either visible or not by clicking on the eye with the unnaturally large eyelashes. Here you can see how these look.
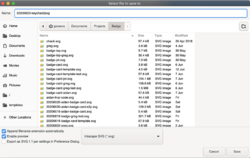
Save your file
Make sure to save your file as an Inkscape svg.
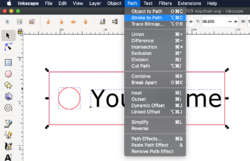
Stroke To Path
Now you want to turn everything in the file from being strokes (i.e. connected lines) to paths (i.e. long lines with different directions). This is done via the Path -> Stroke to Path command.
You might want to save your file again as a different Inkscape SVG after this step, because now that everything is a path, doing things like editing text becomes annoying.
You can be done here if you're planning on working on the PewPew4500, but if you want to work on the PewPew9000 you'll need to save it as a different format.
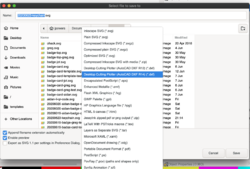
Save your file as DXF 14 too
Simply "Save As" and choose DX 14 as your format type.
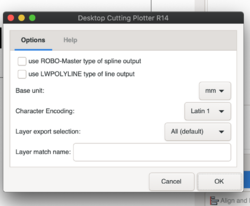
Here are the options to select on the resulting popup.
Get your file to the laser
The lasers behave differently, so the specifics for processing the files will be on the individual laser pages. Regardless though, you're going to be "Sneakernet"ing your file via a USB drive, so make sure you have one handy.
